How to Measure Windows for Shades
Before you can order custom window shades, the most crucial step is taking accurate measurements. Whether you're going for a sleek inside mount or a dramatic outside mount, getting the measurements right ensures your shades will fit perfectly, look polished, and function as intended. In this step-by-step guide, we'll walk you through the tools you'll need, the correct measuring techniques, and some insider tips to avoid common mistakes. Let's make sure your window treatments go up without a hitch.
Decide Between Inside Mount and Outside Mount
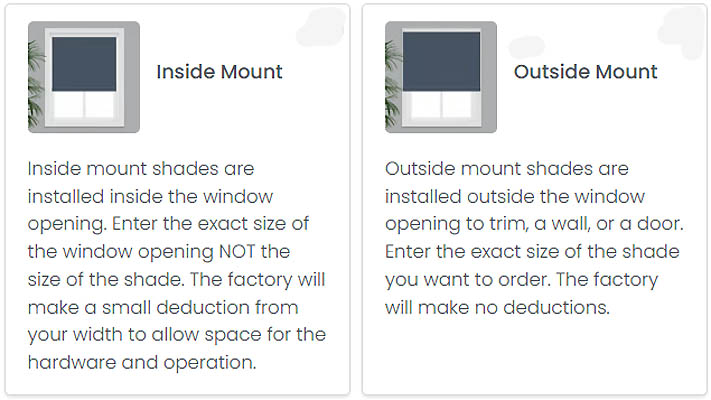
Your first decision before measuring is whether you want an inside mount (installed within the window frame) or an outside mount (attached above or around the window frame). Each choice changes the measurement method and the final look.
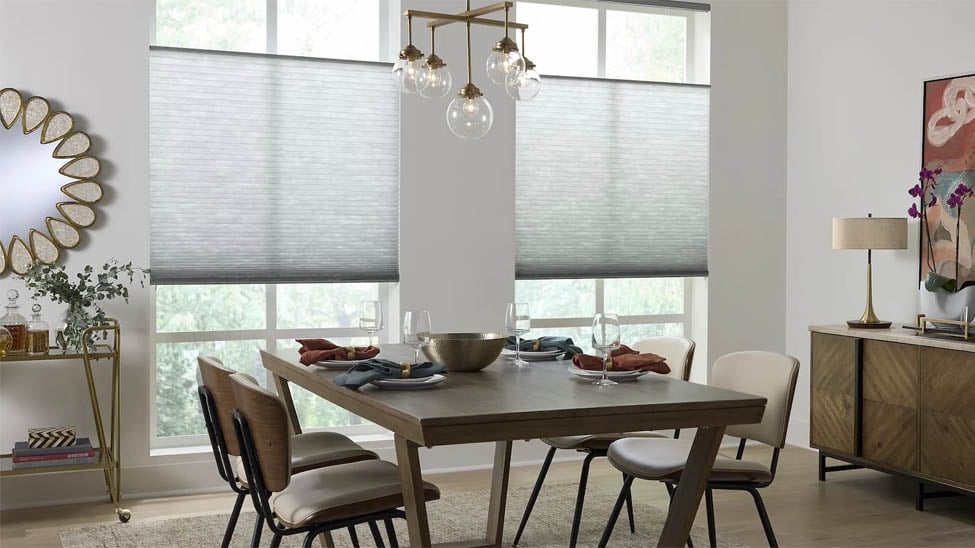
- Inside Mount provides a clean, built-in look that fits flush inside the window frame. It's ideal for modern aesthetics.
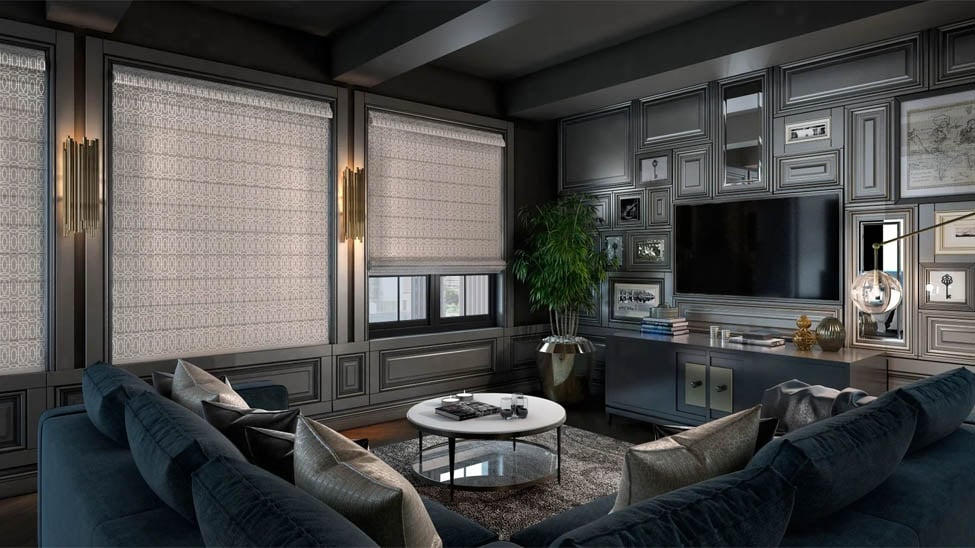
- Outside Mount offers more light control and can make windows appear larger, especially useful for shallow or uneven window frames.
Choose based on your window structure, style preference, and how much light you want to block. If you're opting for home blinds to fit your design preferences, outside mount is a great choice.
Tools You'll Need
Accurate measuring starts with the right tools. Here's what you should have on hand before you begin:
- A steel measuring tape (don't use fabric or bendable tape measures)
- Pencil or pen and a notepad
- Ladder or step stool (for tall windows)
- Optional: a measurement worksheet to keep notes organized
Make sure to measure in inches and to the nearest 1/8 inch for the most precise fit.
How to Measure for Inside-Mount Shades
For inside-mount shades, you're measuring the inside edges of your window frame. Precision is key—shades that are even slightly too wide won't fit.
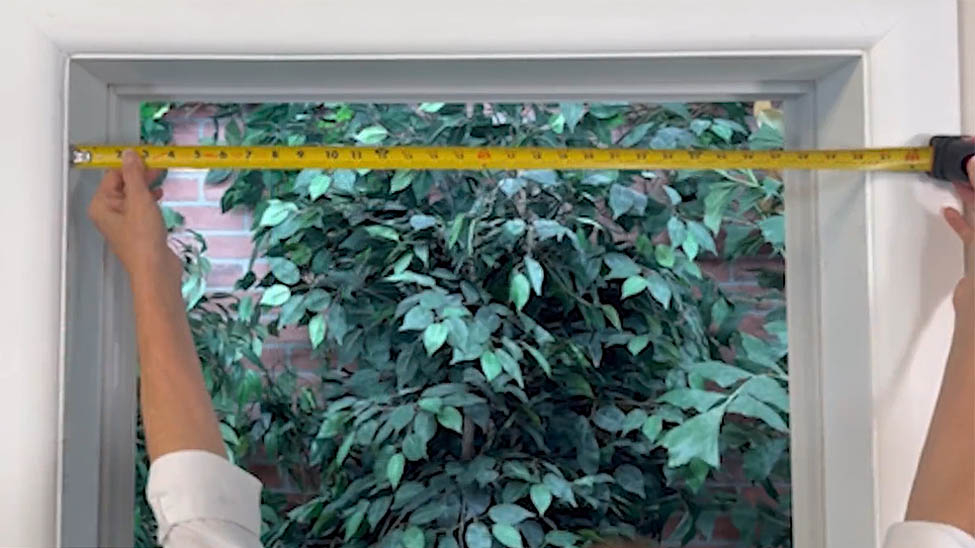
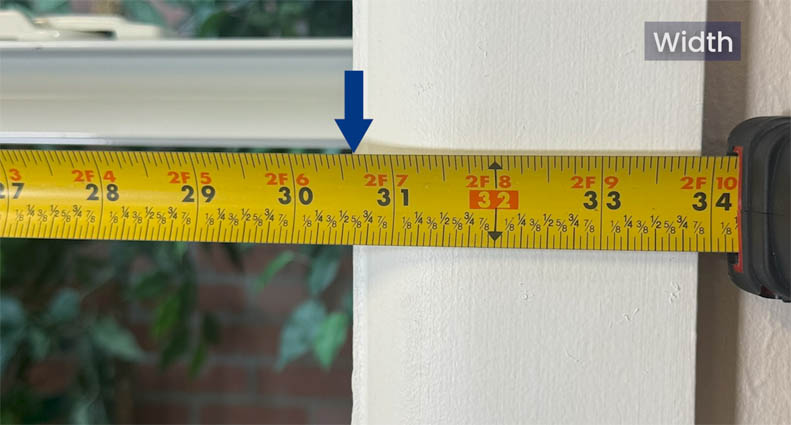
Step 1: Measure Width in Three Places
Measure the inside width of the window frame at the top, middle, and bottom. Record the narrowest measurement. This ensures the shade won't be too wide and get stuck when lowering or raising.
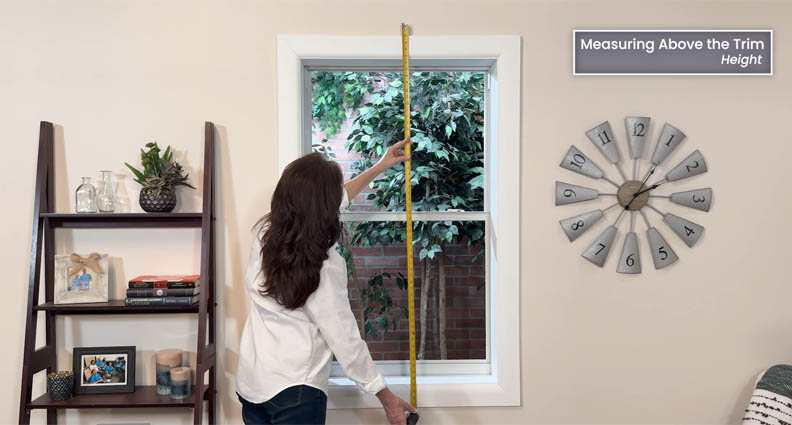
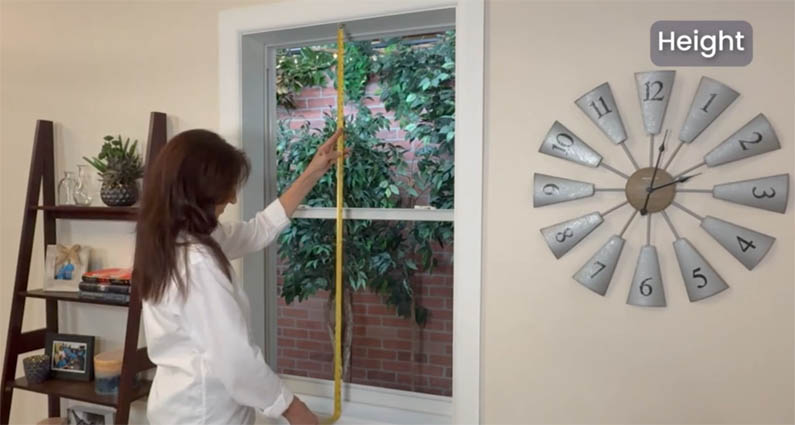
Step 2: Measure Height in Three Places
Measure from the top of the frame to the bottom sill at the left, center, and right. Write down the longest measurement. This ensures full coverage even if your window isn't perfectly square.
Step 3: Measure Window Depth
Some inside-mount shades require a minimum frame depth to fit properly. Measure from the window glass to the edge of the frame. Check this against your shade product's minimum depth requirement. Blindster offers a variety of inside-mount shades with specific depth needs, so be sure to check the product details.
How to Measure for Outside-Mount Shades
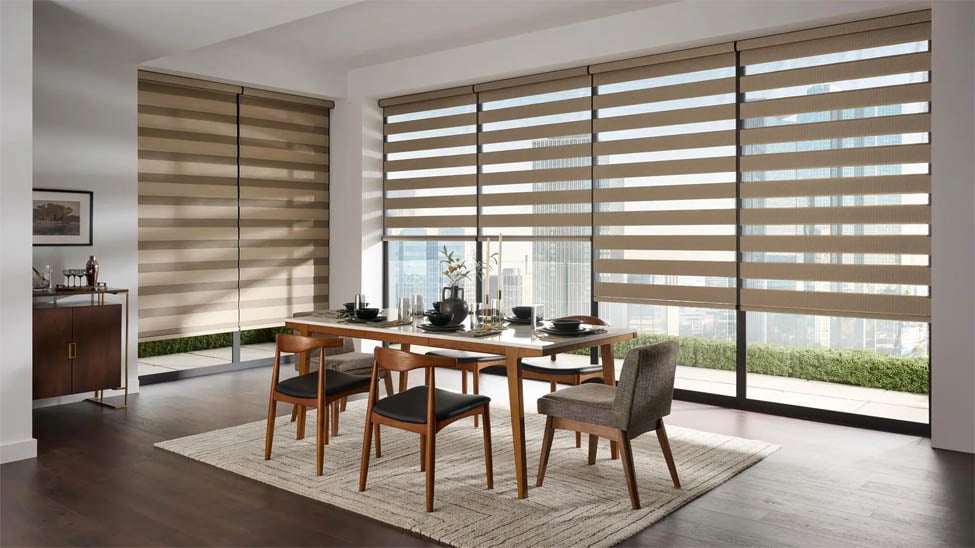
Outside mounts are easier to measure and offer more flexibility, especially for oddly shaped or shallow windows. They also allow better room darkening since they cover the entire window and some wall space.
Step 1: Measure Desired Width
Measure the width you want the shade to cover, typically extending 2–3 inches past the window frame on each side for better light control and privacy.
Step 2: Measure Desired Height
Decide where you want the top of the shade to sit (usually 2–3 inches above the frame) and measure to the desired bottom point. This could be the window sill, below it, or even down to the floor for a dramatic full-length look.
Step 3: Account for Obstacles
Check for obstructions like window cranks, trim, curtain rods, or handles. Make adjustments to width and height if necessary so your shade can move freely without interference.
Double-Check and Record Carefully
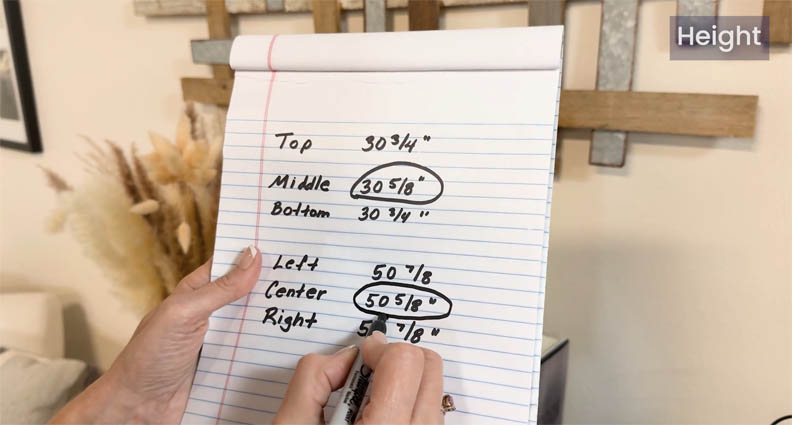
After measuring, it's a good idea to double-check each number. Don't round up or down—shade manufacturers work off exact numbers. Write “W” for width and “H” for height beside each entry and label it “inside” or “outside” mount to avoid confusion later.
Tips for Common Window Types
- Bay Windows: Measure each panel individually. Consider using outside-mount shades for simpler coverage. See our detailed instructions on measuring for bay windows.
- French Doors: Measure the glass portion only if you're installing directly on the French door.
- Arched or Specialty Windows: Often require specialty custom shades; take the widest and tallest points and contact the shade provider for detailed instructions.
What to Do If Your Windows Aren't Square
Many homes have windows that are slightly off-square. This is why you measure in three places. If your window varies in size, always go with the narrowest width and the longest height. Manufacturers adjust for inconsistencies to ensure the shade fits and functions well.
When to Call a Professional
If you have uniquely shaped windows, oversized dimensions, or multiple layers of treatments, consider hiring a professional for accurate measuring. Experts can spot tricky angles, framing issues, or hidden obstacles that affect installation. It's often worth the extra peace of mind.
Final Checklist Before Ordering
Before submitting your shade order, run through this quick list:
- Did you measure width and height in three places?
- Did you record the narrowest width and longest height?
- Did you write down whether it's an inside or outside mount?
- Did you double-check for obstacles and window depth?
Taking the time to measure accurately ensures your shades will look custom-made, because they are. We also have detailed measuring instructions specific to each type of our window shade products.
- Dining Room Window Treatments: Light, Privacy & Style GuideBlinds, Shades & ShuttersDesign & Decor
- Statement Window Shades IdeasBlinds, Shades & ShuttersDesign & Decor
- Trending Window Covering Colors for 2026Design & Decor
- Color Drenching for Window CoveringsBlinds, Shades & ShuttersDesign & Decor
- The Fastest Way to Change a Room's Look? Start With the WindowsBlinds, Shades & ShuttersDesign & Decor