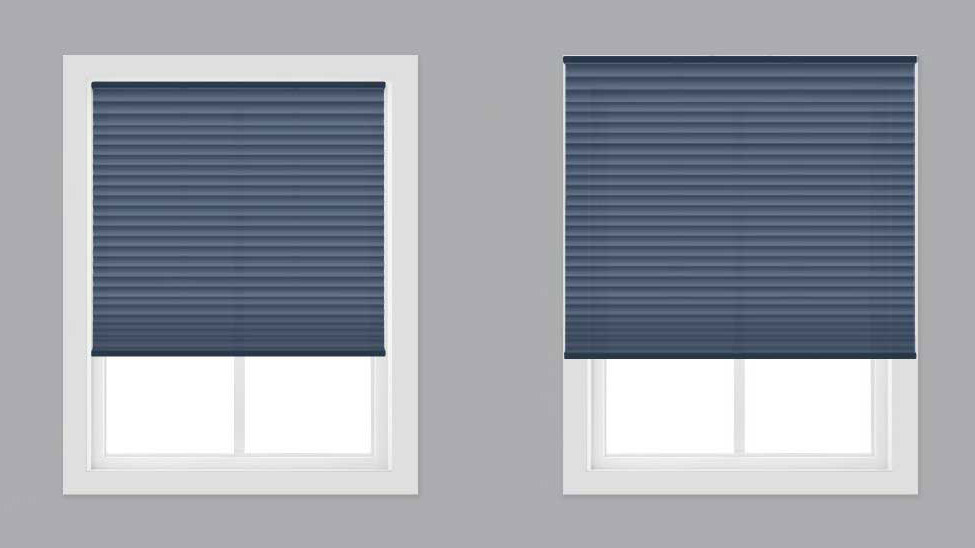
How to Measure Windows for Custom Blinds: Accurate Measurements Made Easy
When it comes to buying custom blinds, getting the right measurements is key. If you've ever purchased blinds that don't quite fit, you know the frustration of having to return them and try again. Thankfully, measuring windows for custom blinds is pretty straightforward, once you know what you're doing.
Whether you're opting for classic blinds or something more modern, like shades, following the right steps will ensure you get blinds that fit perfectly. Ready? Let's dive in.
Step 1: Gather Your Tools
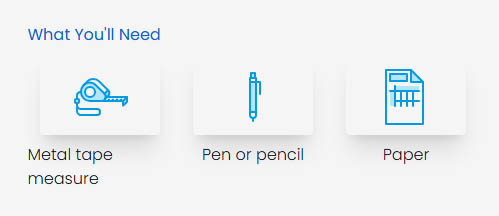
Before you start measuring, you'll need a few tools. Don't worry, you won't need anything fancy:
- Measuring tape (a metal one that's long enough to measure the entire window)
- Pen and paper (or use your phone to jot down measurements)
Once you've got everything, let's move to the next step.
Step 2: Decide Inside or Outside Mount
This is an important decision because it affects how you measure your windows. The main difference between an inside and outside mount is where the blinds will sit.
- Inside mount means the blinds will sit inside the window frame, creating a clean, recessed look.
- Outside mount means the blinds will hang outside the window frame, covering the entire opening and often providing more light-blocking coverage.
Choose whichever style suits your needs, but be sure to decide before measuring. If you're unsure, an outside mount is often a safer bet for a more forgiving fit.
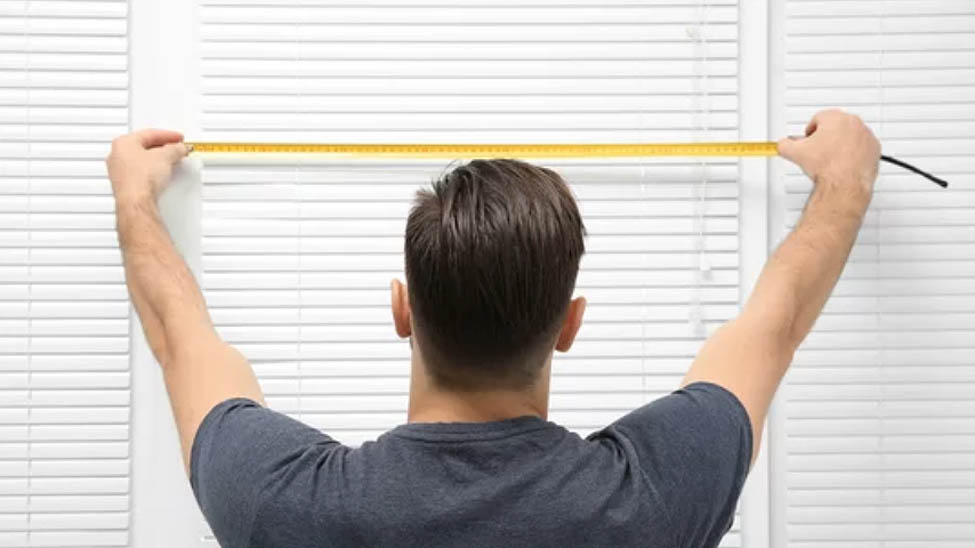
Step 3: Measure the Width (Left to Right)
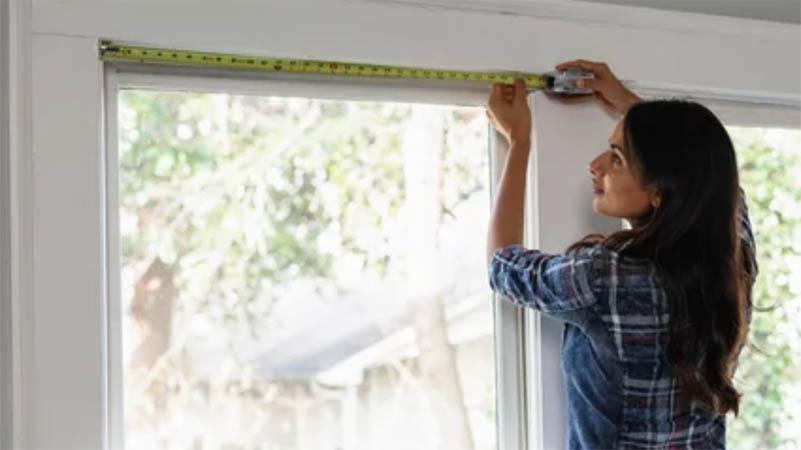
Okay, now you're ready to start measuring.
Inside Mount: Measure the width of the opening at the top, middle, and bottom of the window frame. Windows can sometimes be a little uneven, so it's a good idea to take three measurements. Write down the narrowest measurement to ensure the blinds fit perfectly inside.
Outside Mount: Measure the width of the area you want the blinds to cover. You'll want to add a few extra inches on each side (about 2 to 3 inches) to help block more light and create a more polished look.
Step 4: Measure the Height (Top to Bottom)
Next, you'll need to measure the height.
Inside Mount: Measure the height at the left, middle, and right of the window frame, just like with the width. Again, write down the longest measurement. This ensures the blinds cover the entire window without leaving any gaps.
Outside Mount: Measure from the top of the area you want to cover down to the bottom. Adding a few extra inches above and below the window gives your blinds some breathing room and makes sure the light stays out.
Step 5: Check for Obstructions
Before you finalize your measurements, check if there are any obstacles inside or outside the window frame that could interfere with your blinds. Things like window cranks, locks, or handles can mess with the fit, especially for inside mounts.
If there are obstructions, make sure you account for them in your measurements. It might mean measuring around them or deciding on a different mounting style. It's better to double-check now than deal with issues later.
Step 6: Double-Check Your Measurements
It's always good practice to double-check your measurements. Don't rush through this step. Measure again to be sure. A little extra effort now saves you from the hassle of returns and reorders later on.
Step 7: Submit Your Measurements to Blindster
Once you're happy with your measurements, you're ready to move on to the next step. At Blindster, you can easily input your measurements when placing an order for custom blinds. If you've followed the steps carefully, you'll be able to select from a variety of styles that best fit your needs. Whether you're looking for faux wood, fabric shades, or a different option, Blindster has something that will work for you.
Common Mistakes to Avoid
- Not using a metal measuring tape: Using a fabric measuring tape or folding tape measure can lead to inaccurate measurements. Always use a metal measuring tape for the best results.
- Not measuring in multiple places: Windows can be wonky, so always measure in three places (top, middle, and bottom for width; left, center, and right for height) and use the narrowest and longest measurements.
- Forgetting about obstructions: Handles, cranks, and other window hardware can get in the way. Make sure to measure around them, not through them.
- Not double-checking: It's a hassle, but take the extra minute to double-check your measurements. It could save you from having to reorder.
Wrapping It Up
Measuring windows for custom blinds doesn't have to be complicated, but accuracy is key to making sure you get the perfect fit. With these simple steps, you'll be able to measure your windows like a pro and have your custom blinds installed in no time. And if you want to skip the guesswork, Blindster has a huge selection of custom blinds and shades, and the team is always happy to help with any questions you might have about measuring or installation.
There you have it, simple, effective, and easy-to-follow steps to measure for custom blinds. Ready to get started on your next window treatment project? Happy measuring!
- Woven Wood vs Bamboo Shades: What's the Difference?Blinds, Shades & ShuttersCommon Questions
- Zebra Shades Buying Guide: How They Work, Benefits, and Best RoomsBlinds, Shades & Shutters
- Child-Safe Window Treatments: The Complete Parent's GuideBlinds, Shades & ShuttersCommon QuestionsHome Advice
- Dining Room Window Treatments: Light, Privacy & Style GuideBlinds, Shades & ShuttersDesign & Decor
- Statement Window Shades IdeasBlinds, Shades & ShuttersDesign & Decor