How to Install Blackout Blinds A Step-by-Step Guide for Beginners
Installing blackout blinds doesn't have to be a daunting task. In fact, with a little time and the right tools, you can easily transform your space into a darker, cozier environment. Whether you're after complete privacy or simply want to block out light, this guide will walk you through the process of installing blackout blinds without any hassle.
1. Gather the Necessary Tools and Materials
Before diving into the installation, make sure you have everything you need. You don't want to waste time running around looking for tools once you've started.
Here's your basic checklist:
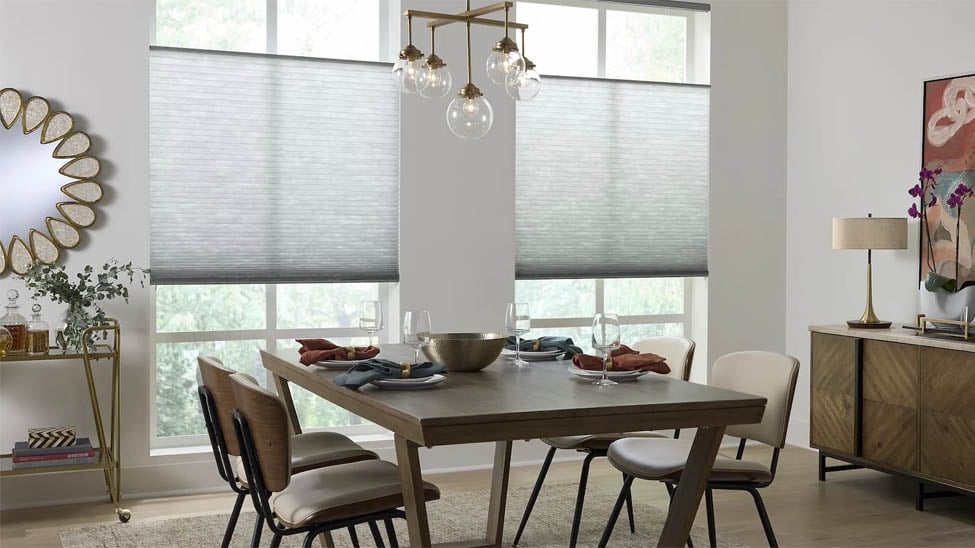
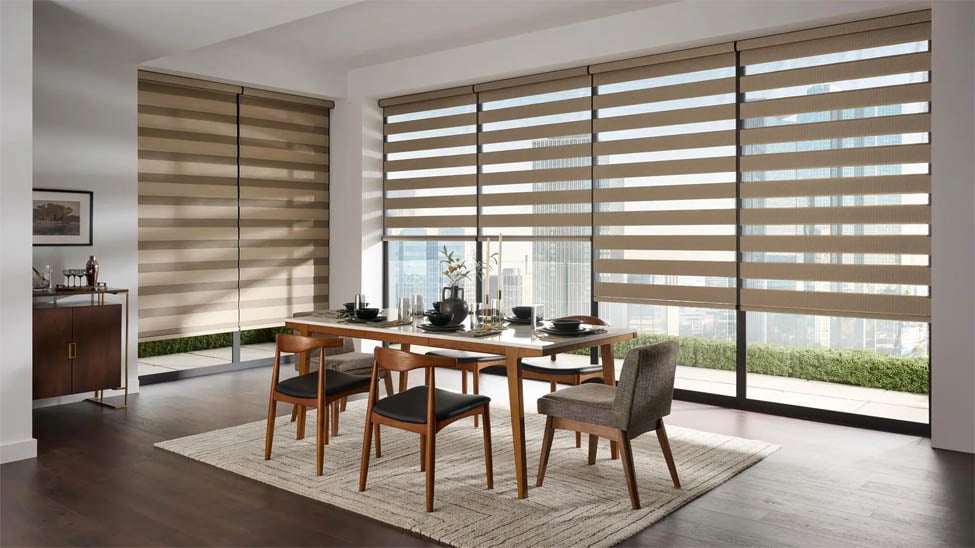
- Blackout blinds (custom fit or made to your specifications)
- A tape measure
- A pencil
- A drill (and drill bits)
- Screws (usually provided with the blinds)
- A level
- A screwdriver
- Ladder (for taller windows)
If you're looking for a variety of custom blackout blinds, Blindster offers a great selection that can be tailored to your needs.
2. Measure Your Window
Measuring your window properly is crucial for a perfect fit. If you're ordering your blackout blinds from Blindster, they come with the option for custom sizing. But even so, it's worth double-checking to make sure everything fits just right.
Here's what to measure:
- Width – Measure across the window frame from one side to the other.
- Height – Measure from the top to the bottom of the frame.
- Check the measurements in multiple spots (top, middle, and bottom) in case your window isn't perfectly square. Adjust accordingly to make sure the blinds will cover the window fully.
3. Install the Brackets
Once you have your blinds, it's time to install the brackets that will hold them in place. Bracket placement is key—use a measuring tape and a level (for outside mount installations) to make sure they're straight, or your blinds may not sit correctly.
Start by marking where the brackets will go using a pencil. Typically, you'll want to place the brackets about 4 to 6 inches from the edge of the window frame, but this may vary based on the size of your blinds and the installation instructions specific for your type of blind.
Pre-drill the holes carefully, making sure to make a hole slightly smaller than the width of the screws. Once the holes are ready, secure the brackets in place with the provided screws.
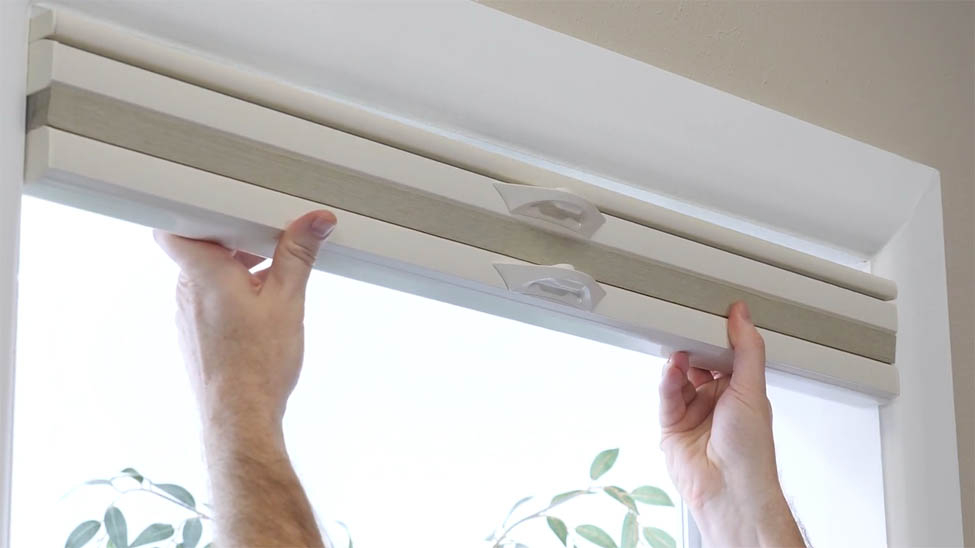
4. Attach the Blinds to the Brackets
With the brackets installed, it's time to hang the blinds. This part is usually pretty straightforward. Line up the top of the blinds with the top of the brackets.
Place the blinds carefully onto the brackets and make sure they're securely in place. Most blackout blinds will click into place, or slide into the bracket slots. Once they're on, check to make sure the blinds are level.
5. Test the Mechanism
Once your blinds are hanging, give them a test. Lower them to see if they cover the window completely, and adjust them if necessary. If they come with a cord or chain, check that it's working smoothly.
This step is important to make sure the blinds are functioning as they should. You want to make sure they're not sagging and that the mechanism is smooth, whether it's manual or motorized.
6. Final Adjustments
Now that everything is installed, step back and take a moment to look at your work. Is everything level? Does it look right? If anything seems off, make small adjustments. It might just be a matter of tightening a screw or aligning the blinds slightly.
After that, you're done! The final touch is making sure everything is secure and in place. If the blinds feel loose anywhere, adjust the positioning of the brackets or blinds to tighten them.
Tips for Installing Blackout Blinds
Safety First: Be cautious when using a ladder or power tools.
Double-Check Measurements: It's always a good idea to measure twice, especially if you're using custom-sized blinds.
Use a Stud Finder: If you're installing the brackets into drywall, a stud finder will help avoid damaging the wall.
Keep It Clean: Make sure the window frame is clean before starting, as it will help the brackets adhere more securely.
Installing blackout blinds is much easier than it seems, and with a little attention to detail, you can achieve professional-looking results in no time. Blindster offers a wide range of customizable blackout blinds to suit any style or need, so be sure to check out their offerings for your next window treatment project.
Enjoy the privacy, comfort, and control that come with your new blinds. It's one of the simplest ways to improve your space!
- Dining Room Window Treatments: Light, Privacy & Style GuideBlinds, Shades & ShuttersDesign & Decor
- Statement Window Shades IdeasBlinds, Shades & ShuttersDesign & Decor
- Trending Window Covering Colors for 2026Design & Decor
- Color Drenching for Window CoveringsBlinds, Shades & ShuttersDesign & Decor
- The Fastest Way to Change a Room's Look? Start With the WindowsBlinds, Shades & ShuttersDesign & Decor